|
|
Post by webbm00 on Jan 18, 2019 21:30:10 GMT
Good advice downunderdave. No one wants a lump of fire cement in their pizza!
I've already got loads of marks on the oven for various things and I've also got to remember to put in the thermocouples before reassembly.
Has anyone used lime or lime/cement mortars for their ovens? I was wondering if the additional plasticity, resistance to cracking and higher porosity of adding lime would help stop cracks forming later?
|
|
|
|
Post by downunderdave on Jan 19, 2019 1:57:42 GMT
Good advice downunderdave. No one wants a lump of fire cement in their pizza! I've already got loads of marks on the oven for various things and I've also got to remember to put in the thermocouples before reassembly. Has anyone used lime or lime/cement mortars for their ovens? I was wondering if the additional plasticity, resistance to cracking and higher porosity of adding lime would help stop cracks forming later? Some of the high quality/expensive refractory mortars are actually unsuitable for wood fired ovens. They may contain unnecessary high temperature aggregates and are designed for kilns and high temperature furnaces that operate at around double the temperatures we use. Because of this they rely on high temperature sintering, (that you won’t reach in your oven), for their bonding, so check the product you have. Additionally, mortars based on calcium aluminate rather than calcium silicate (OPC)cements, will have a limited working time so require mixing in much smaller batches. Also you can’t rehydrate these mortars once they’ve started to go off, like you can with standard mortars. If you do you will end up with a very weak mortar. The “homebrew” that contains lime, has proved to be a particularly good all round performer for wood fired ovens for both application and service. It relies on the chemical bonds at ambient temperature. It is 3:1:1:1 sand, OPC, hydrated lime, powdered clay. If the OPC gives out then the lime takes over as the cementious bond. You are correct about lime having some crack resistance/healing. It also makes the mortar slightly elastic which is another good feature as there is significant thermal expansion and contraction going on as the oven heats and cools. OPC begins to degrade at temps north of 300c, lime is still good for temps up to 500C. In practice it proves adequate, is cheap and easy to mix and apply with good working time. (Contains lime so wear gloves) |
|
|
|
Post by webbm00 on Jan 19, 2019 20:54:38 GMT
I hadn't thought about using the homebrew mix but that's the obvious answer and I'll now need to source some powdered clay. I did wonder if I could just use high temp sealant as I've got a few tubes. Got the under cooking floor thermocouples in today  and then spent ages getting the three parts of the dome lined up before marking it up so I could reconstruct it with the sealant in between the joints     and just before finishing I set out the cooking floor ready for cementing down tomorrow  |
|
|
|
Post by downunderdave on Jan 19, 2019 23:39:58 GMT
I don’t know what high temp sealant product you have, but I’ve found the only product that remains flexible at temp is high temp silicon. However, the highest is only rated to 371 C intermittent, certainly not enough to cope with the sustained temperatures your oven will see. I use it to seal around the flue pipe, where temperatures are lower. It’s just enough so long as you don’t have roaring flames up the pipe. Has the manufacturer provided the product? If so you should follow their advice because they’ve presumably researched the most suitable product. For filling joints between cast sections I use the homebrew which proves affective.
Regarding the cementing of the floorbricks, for most builds it is recommended that they be laid loose to allow for thermal expansion and contraction. Any gaps will fill with ash. This has the additional advantage of easy replacement of a spalled firebrick (usually in the centre) down the track, if this should occur. If a leveller is required a 50/50 dry mix of sand and fireclay is the usual mix used. However if the manufacturer recommends mortaring the floor bricks down then you should follow their directions. Departure from their instructions could void your warranty.
|
|
|
|
Post by webbm00 on Jan 20, 2019 13:13:31 GMT
They have provided Vitcas Heat Resistant Sealant but your right it doesn't say it remains flexible when set For the floor I'm going to use a dry mix as I only need it to level out the bricks and as you say it is good to leave the bricks mobile to help with thermal expansion. I've not thought about replacing bricks in the future. How long do floor bricks usually last? |
|
|
|
Post by downunderdave on Jan 20, 2019 19:34:24 GMT
They have provided Vitcas Heat Resistant Sealant but your right it doesn't say it remains flexible when set For the floor I'm going to use a dry mix as I only need it to level out the bricks and as you say it is good to leave the bricks mobile to help with thermal expansion. I've not thought about replacing bricks in the future. How long do floor bricks usually last? i It may never happen, but if it does it will almost certainly be a brick in the centre of the oven where the rate of temperature rise is the greatest. It’s not a huge deal, just means you have an extra floor joint. It might take years of service before it happens. |
|
|
|
Post by webbm00 on Jan 25, 2019 20:04:37 GMT
More thermocouples added   and laid the cooking surface on a dry mix  Tried out the half bricks for the arch  Then realised I need to lay the worktop in front of the oven before I can build the arch and as I want polished concrete switched to learning more about this. I want something like: 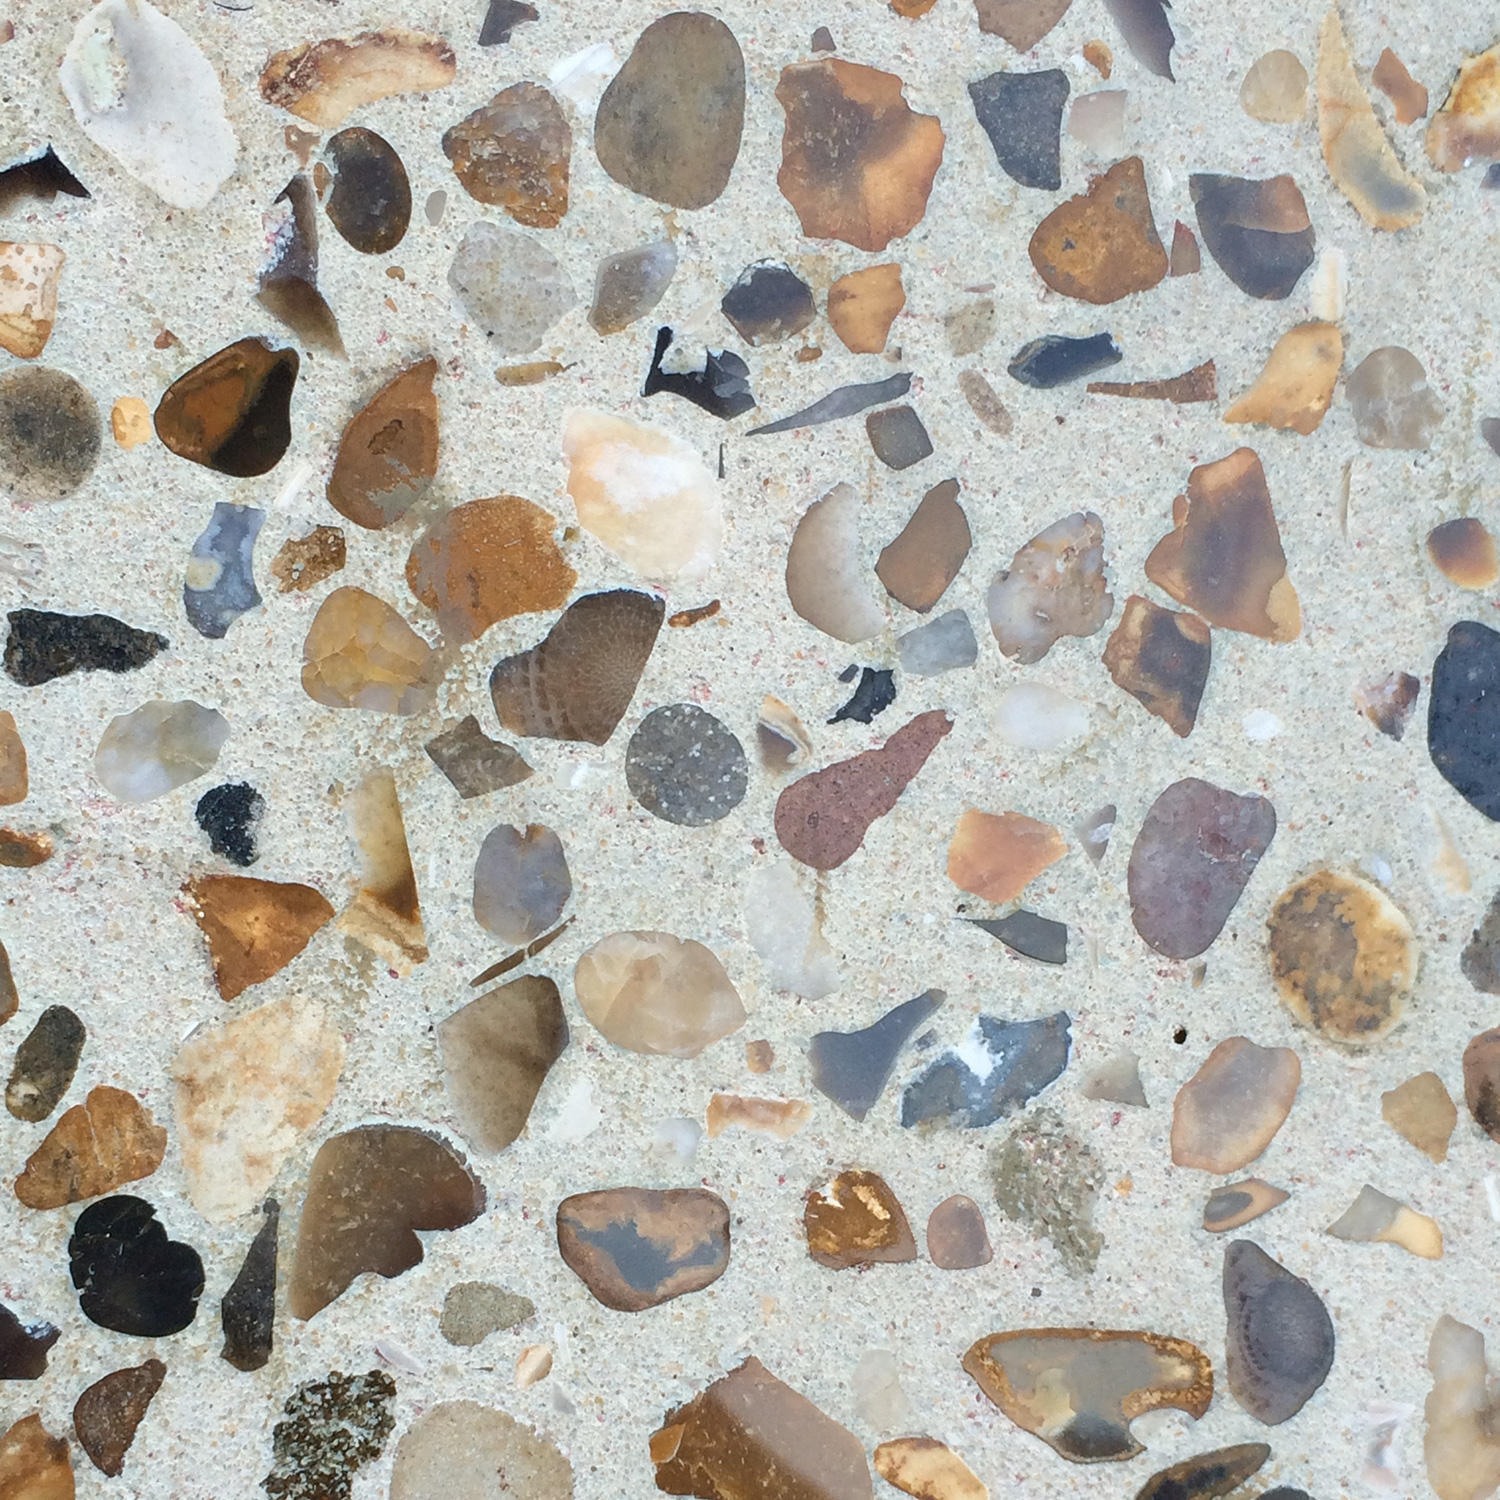 and have now built a test form out of furniture board, ordered a wet polisher and bought some snowcrete, 10 and 20mm gravel, sharp sand and Evermix 3 in 1 for the first test pieces. I'm still working out how to use my concrete breaker or SDS drill to vibrate the mix when its in the form I like the look of the glass sand, sea shells and mixed glass from Specialist Aggregates and the glow stones from Core Glow but this can wait until I've successfully cast a basic slab 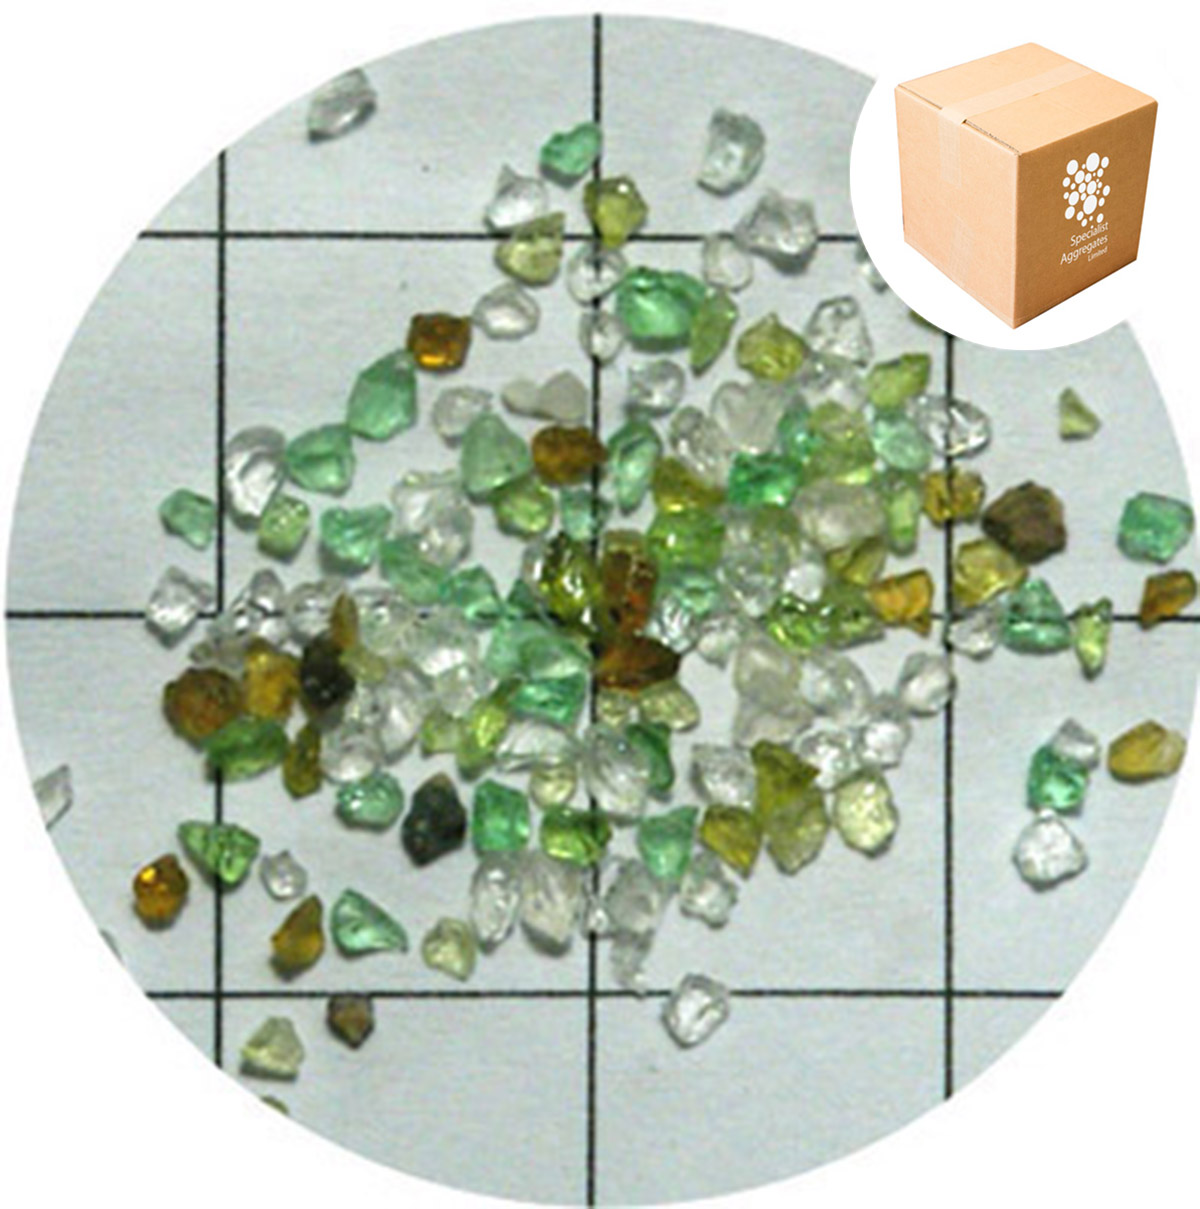 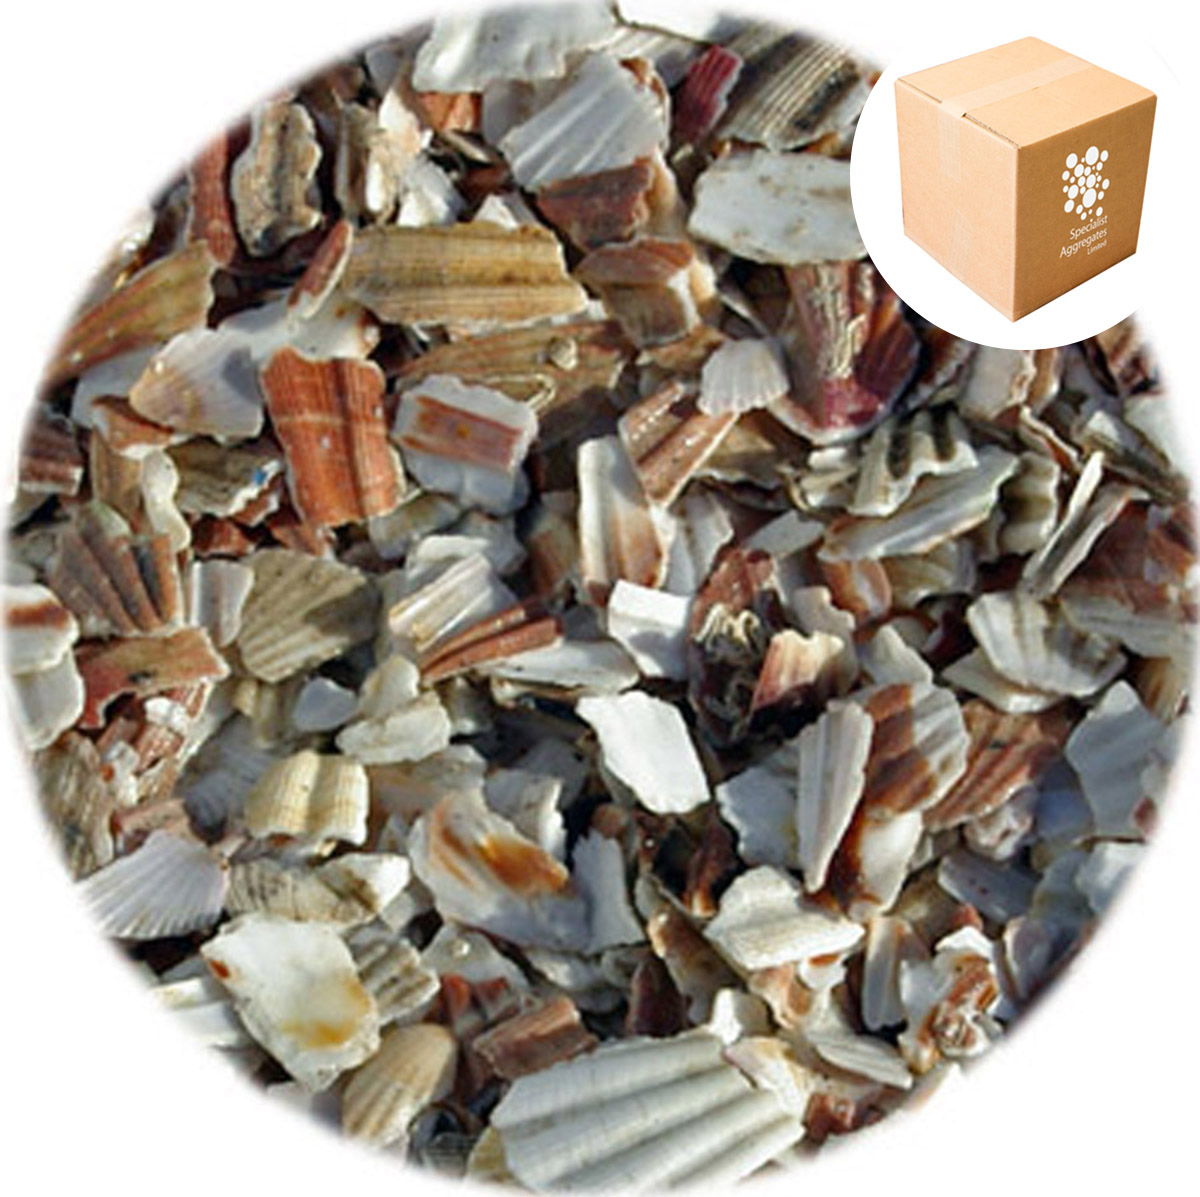   Will cast at least one combination of worktop materials tomorrow and fix the thermal blanket over the oven. Then if I've got time I'll start fitting the flue |
|
|
|
Post by webbm00 on Jan 25, 2019 22:26:58 GMT
How much vermiculite will I need to insulate my oven dome? Is 100L enough of do I need more?
|
|
|
|
Post by downunderdave on Jan 25, 2019 23:41:31 GMT
How much vermiculite will I need to insulate my oven dome? Is 100L enough of do I need more? I’ve found that a 100 L bag only contains about 80 L. Not sure if it gets compressed during storage or whether i’m Just getting ripped off, probably a bit of both. If you work out the volume of the sphere using the outer diameter of the oven plus the thickness of the vermicrete layer x2 (both sides) then subtract the volume of the sphere using the outer diameter of the oven, this will give you the volume of the vermicrete layer, but you have to halve it because it’s a hemisphere. Also the volume of the mix will reduce by around 20% on mixing, so add some more to compensate for this. The area not covered where the door is will be around the same as the extra required around the flue gallery. The formula for volume of a sphere is 4/3 Pi x r3 |
|
|
|
Post by webbm00 on Jan 26, 2019 18:39:42 GMT
It looks like I need about 200 litres so I've ordered 300 as I need some more to cast a top for the BBQ chimney
|
|
|
|
Post by webbm00 on Jan 26, 2019 23:01:22 GMT
Got my samples from Specialist Aggregates today. Impressed by their response time as they were sent the same day as I emailed them. They arrived just in time as I was planning to cast the test pieces today.  Made the test mould  and mixed up a 3/2/1 mix of washed 10mm gravel, sharp sand and snowcrete and added the required amount of Evermix. In the first part I put just 20mm washed gravel at the bottom (which would become the top) and covered in the mix. I then pushed some more stones down the sides. In the second I spread four of the samples in bands and covered in the mix. I then used my random orbit sander on its side to vibrate the mix and as it bubbled and the water came to the surface it looks like this will be my tool of choice for the other pieces I need to cast. I just need to fix a block of wood to it so I can vibrate the middle of the mix  Now I just need to wait four days before removing from the mould I also got the flue in today and fixed the cowl and storm collar   |
|
|
|
Post by webbm00 on Jan 28, 2019 17:44:29 GMT
Got the thermal blanket and chicken wire on yesterday and cut the bricks and set out the arch today. Sods law says the bricks end awkwardly for the keystone. 
May have to cut 3 bricks at the top to make it work or I may gain enough when I cut the transition bricks from the arch to the abutment. I know I need to leave a gap from the arch to the oven but how do you tie in the arch to the oven? I want thinking of brick ties back into the vermicrete that will cover the oven? |
|
jons
valid member

Posts: 41
|
Post by jons on Jan 28, 2019 19:04:17 GMT
Got the thermal blanket and chicken wire on yesterday and cut the bricks and set out the arch today. Sods law says the bricks end awkwardly for the keystone.
May have to cut 3 bricks at the top to make it work or I may gain enough when I cut the transition bricks from the arch to the abutment. I know I need to leave a gap from the arch to the oven but how do you tie in the arch to the oven? I want thinking of brick ties back into the vermicrete that will cover the oven? Nick recommended using wall ties or galvanised wire being attached to a 200mm strip of chicken wire round the front of the dome cemented in.the whole lot disappears under pointing in the arch and render or brick lining on the dome. So basically your idea! |
|
|
|
Post by truckcab79 on Jan 28, 2019 19:39:30 GMT
That's what I did as per the instructions, though the gap I created then kind of disappeared under the mortar and brickwork so not sure I ended up with much of a 'gap'at all in the end. Seems fine anyway.
|
|
|
|
Post by downunderdave on Jan 28, 2019 19:40:04 GMT
You can tie in the front decorative arch to the inner dome, but after seeing enough cracked arches I think it is better to leave a small gap and tie the decorative arch into the outer shell with eight thin wire ties. Mine are embedded in the casting of the decorative arch, but for brick you can place them in the mortar joint between bricks. This allows the inner oven to expand freely without placing stress against the cooler outer decorative shell. I fill the small gap (around 10 mm ) with 7:1 vermicrete, which is slightly flexible.
|
|

