|
|
Post by reburner on Oct 9, 2012 19:43:57 GMT
You know until you just mentioned width i had assumed there would just be a step in at the bottom. However i have enough blanket left to bring the side width out to get a continous dome for rendering. Thanks for bringing it up .
|
|
|
|
Post by reburner on Oct 10, 2012 20:23:33 GMT
Good day today, got the chicken wire and first coat of the fire cement on. Putting on the chicken wire took ages (3 hours) as the shape is awkward and there are no points to affix it. Most of the time was spent 'sewing' pieces together to get the fit and shape right. Then it was on with the fire cement. This sets pretty quick so only mixed it up in small batches as I went. Easy to do in a bucket, you just add water and mix. Vitcas recommended 2 * 20kg tubs which looked like it wouldn't be enough, especially as I inevitably ended up with uneven depths to fill all over he place between the wire and the blanket. However the end result today (last pic below) only took just over one tub so I've plenty left to get a second coating on and try and get a smooth, nicely rounded finish. Here's the pics. 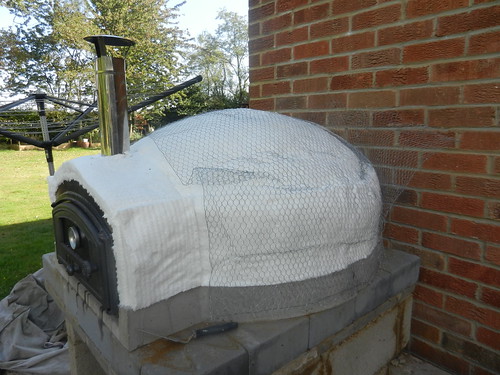 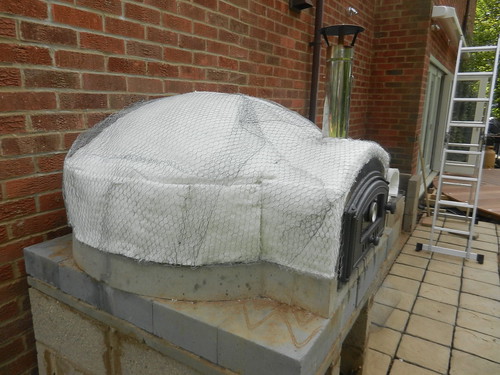 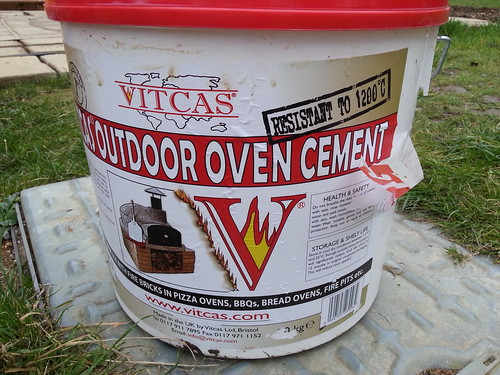 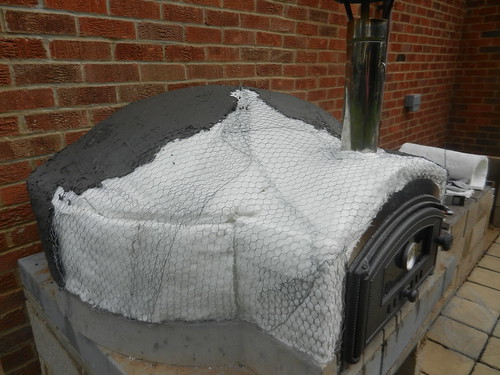  |
|
|
|
Post by turkey on Oct 10, 2012 20:46:01 GMT
you did very well getting the chicken wire tight there, I found it a real pain and my dome did not have the sharp edges which must have been a real pain. I am surprised its only 1 tub on there, very nice work  |
|
|
|
Post by cannyfradock on Oct 10, 2012 21:40:34 GMT
Reburner
That outdoor oven cement is something I haven't come across. It looks very good. Please keep us updated on your progress.
Terry
|
|
|
|
Post by reburner on Oct 12, 2012 13:52:52 GMT
Nearly there now. First picture below is what the oven looked like after the first coat of fire cement had been on for 2 days. I wouldn't suggest anybody try and do everything in one coat as it was much easier for me to get a good finish after this first coat had set. 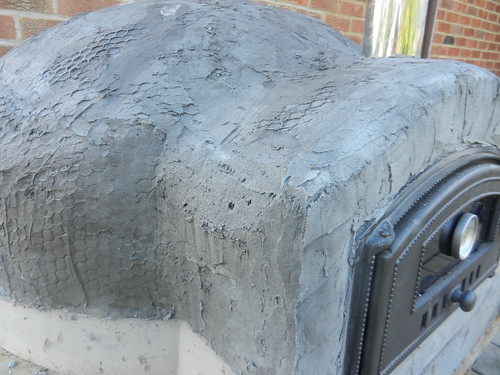 After attempting to get a decent finish with various trowels and a float I decided to have a go at smoothing it off with a wet sponge. This worked a treat. You can see in this picture, the newly applied bottom area and the top which has already been smoothed with a sponge. This approach really helped around the door and on the corners as well  And here's a couple of the finished article. Need to leave it to dry for a few days now, get some more curing fires going and then paint it. I can also crack on with the rest of the outdoor kitchen as well. I was going to get a plasterer to get a finish on that for me but after the success with the oven I think i'll have a go myself. Anyone like to suggest how long I leave this to go off before I light another fire? 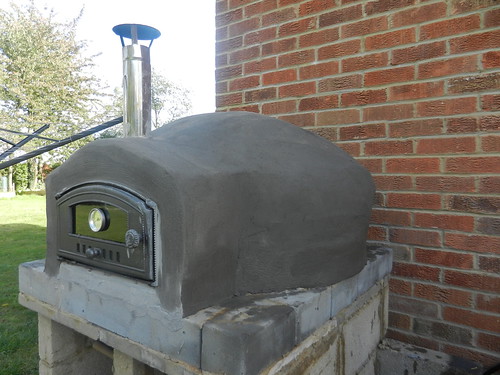 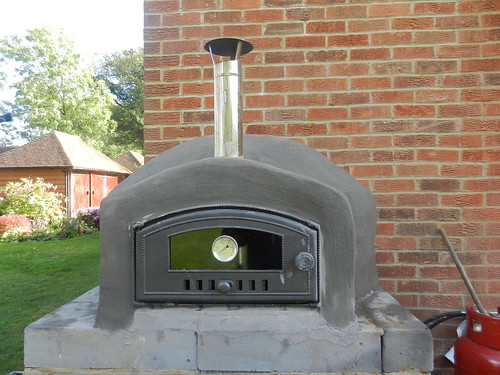 Lastly this is how much cement I had left out of two tubs. just enough for any touching up that may need doing. 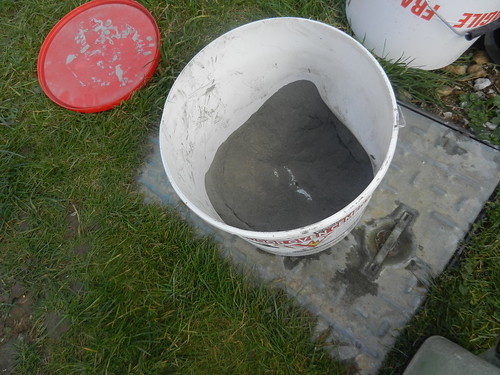 |
|
|
|
Post by cannyfradock on Oct 12, 2012 17:55:37 GMT
Reburner
Nice work on the fire-cement render. Good idea on fining down the second coat with a damp sponge.
Best bet on drying the render is to give Vitcas a call. Every Modular oven acts in a different way and only THEY will know how bwes to dry the render.
Love the oven door. It's a shame it isn't up against the dome with the vent outside. A lot of this type of modular oven will have a damper system installed in the chimney for when baking batches of bread.
Terry
|
|
|
|
Post by reburner on Oct 12, 2012 18:50:10 GMT
Cheers Terry
Yes there is a damper in the chimney.
We got a freaky 5 minute hailstorm this afternoon but luckily it had set hard enough to make no difference
Les
|
|
|
|
Post by reburner on Oct 29, 2012 15:09:11 GMT
So yesterday (sunday) I cooked the first pizza in my Vitcas oven. I haven't finished the whole outdoor kitchen build yet but the only thing left to do on the oven was paint it so with a reasonable weather forecast yesterday it was pizza time. First off get a good fire going 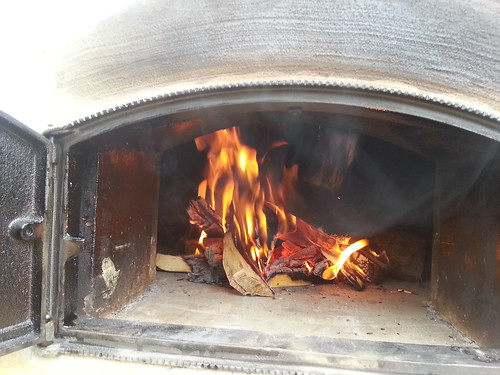 After about 45 minutes the oven was up to temperature Then push the fire over to one side 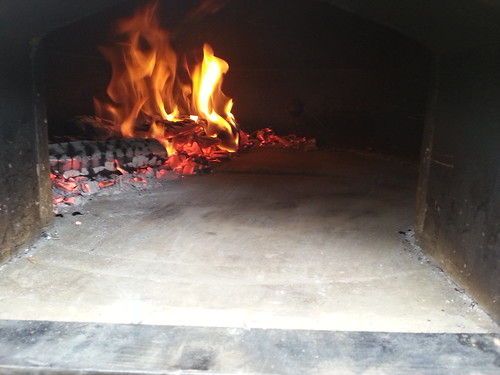 And cook your pizza 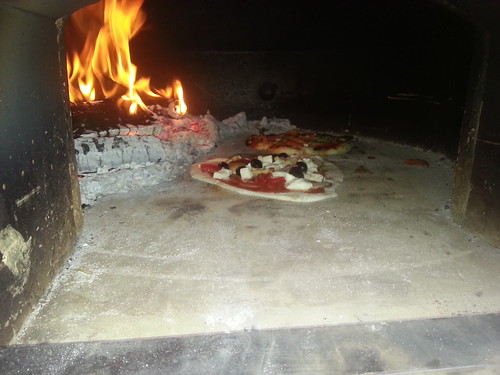 And finally shove a Tartiflette and a chicken in the oven to roast for dinner later  We cooked around a dozen pizzas for lunch and the fire was plenty hot enough and my peel technique improved as I went on. So things I have learnt from this first cooking session are: -The oven works really well and retains heat wonderfully - I need a longer peel. I bought my current peel ages ago for my indoor kitchen oven but need a longer one for this beast (I singed my hair and eyebrows  ) -The purchase of a pair of welding gloves from ebay for £4 was money well spent - The cooking process would be easier with a long turning peel (the smaller metal round ones) as I had to withdraw the peel from the oven to turn the pizza around. - The whole cooking process takes more effort than you think. With dough to roll out and toppings to put on and 2 pizzas at a time to look after it gets a bit frantic. I had planned to use my good camera but ended up taking pics and videos on my phone as I was a bit busy. This was with the family helping out. This was compounded as due to it being freezing outside all the prep was taking place in the kitchen and I was running backwards and forwards with the peel. However next time I will manage it all better and hopefully have outdoor worktops to prep on beside the oven (weather permitting). - If you are taking photos with your new phone so close to the oven your hand is getting too hot then it is probably not too good for the phone either - You need a lot of preparation space for all your toppings and an area to roll your dough out as well as somewhere to eat it all - These pizzas are REALLY hot when they come out of the oven and they are best left to 'set' for a minute or two before cutting and definitely before putting molten cheese in your mouth. - Eating home made pizza from your own wood fired oven is a very satisfying and tasty experience ;D Although we were full after all the pizza it seemed a crime to waste all that oven heat so I knocked up a quick tartiflette and stuffed a chicken full of herbs from the garden and put those in the oven to cook for dinner. The tartiflette was wonderful and the chicken took on an incredible smoke flavour much like I get with a 3 hour smoke on my charcoal BBQ. I don't think I could bear to waste the residual heat after a pizza firing so will now always have something ready to cook in the oven afterwards. The only quandary I'm left with is what to do about the smoke blackening on the front of the oven. I'm planning to paint the oven, its base and the outdoor kitchen in a cream colour. Anyone got any views on whether to leave the front of the oven to blacken naturally or paint just the front black or do something different? |
|
|
|
Post by cannyfradock on Oct 29, 2012 17:32:48 GMT
Reburner
Congratulations!!!......the oven looks stunning and the food even better. Pizza partying is fun but those casseroles and roasts cooked in the residual heat are something else......you must try a "beercan chicken"...if only for the picture, but they also taste real good.
Many of our members have little tricks for heating the oven before hand with a gas burner.....or making sure to use the driest of kindling and logs etc.....for the initial firing to reduce the smoking before the oven starts doing it's magic. Myself I always like to see the smoke marks above an oven door.....it shows me it's a hard working Wood-fired oven that's getting lots of use.
Terry
|
|
|
|
Post by tonyb on Oct 31, 2012 17:21:17 GMT
Well done. I agree with most of your comments, though I don't think you need a large preparation area. After a couple of sessinos you'll get into a preparation/cooking routine where its not the panic that it seems the first few times. I always have a willing helper to look after the fire and do the turning of the pizza, in fact they are usually fighting over the job As far as the blackening goes, I suspect we all get that, I tend to view it not as an eyesore but a badge of honour  |
|
|
|
Post by reburner on Nov 5, 2012 19:05:42 GMT
I know this post isn't really oven related but it's a bit slow in here so I thought i'd update you on my progress. Kitchen nearly finished complete with my rustic rendering. Just waiting for that to dry and get a warm enough day to paint the whole lot cream and then make the doors. The area under the oven is for the log store.  |
|
smarty1964
member
 The Mk I Oven - Mk II Soon - I Hope...
Posts: 14
|
Post by smarty1964 on Nov 6, 2012 14:32:18 GMT
Rustic Rendering Looks good From Here...
Well done, delayed starting mine until the spring.
Keep us posted with the final touches.
|
|
jwyno
valid member
Posts: 52
|
Post by jwyno on Nov 9, 2012 16:40:39 GMT
That is looking like a cracking build and I love the work areas either side of the two ovens.
Are you doing this work alongside the whole patio area as well? Would love to see a wider angle shot at some point of the entire project.
James
|
|
|
|
Post by reburner on Nov 12, 2012 8:44:26 GMT
Yep doing the work alongside the whole patio. Am currently working on the last piece of decking. It's all painted and the BBQ is permanently in place now. Had a BBQ for Sunday lunch yesterday. I've got a deep fat fryer but don't like using it as the house smells. Now however I've got a work top and power outside so we had fries to go with the homemade burgers yesterday. I even made my own buns. Here's a couple of pics. The last piece of decking I'm working on is on the extreme right. The latest toy I've installed is the powered awning over the patio doors  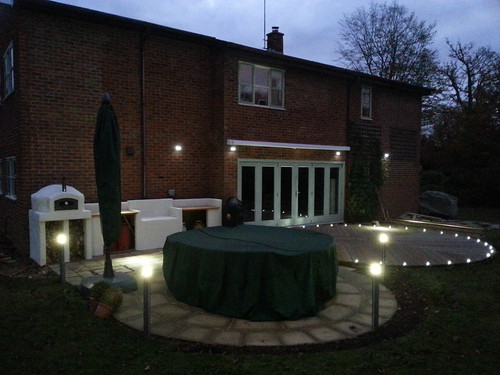 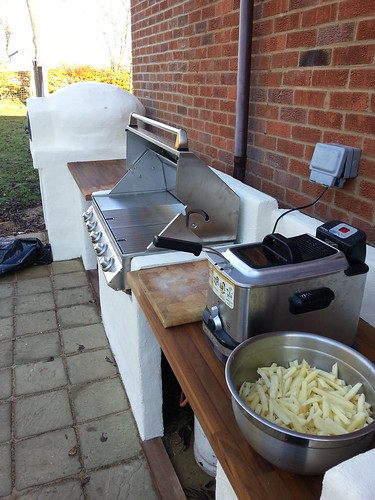 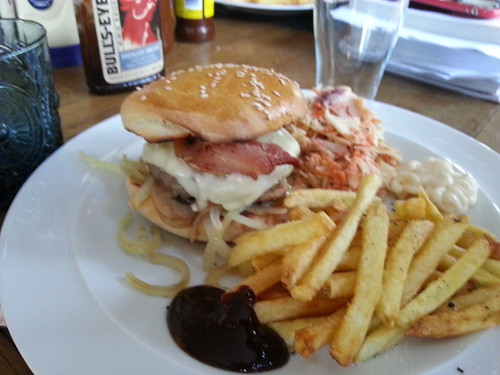  The front of that oven isn't going to stay white for very long!! |
|
|
|
Post by bookemdanno on Nov 12, 2012 13:15:35 GMT
Very Nice! Dunno about you, but i'm now thinking of building an outdoor exercise gym to work off all the extra cooking and lovely mealtimes that my outdoor kitchen/pizza oven will now create! Enjoy your outdoor area, it's the biz! |
|


 )
)

