kipper
WFO Team Player

Posts: 125
|
Post by kipper on Sept 20, 2013 19:10:22 GMT
yes thank you Terry I have your pm.I'll contact you over weekend to arrange something.thanks again.
|
|
kipper
WFO Team Player
Posts: 125
|
Post by kipper on Sept 27, 2013 21:30:47 GMT
its about time i updated my build so here goes 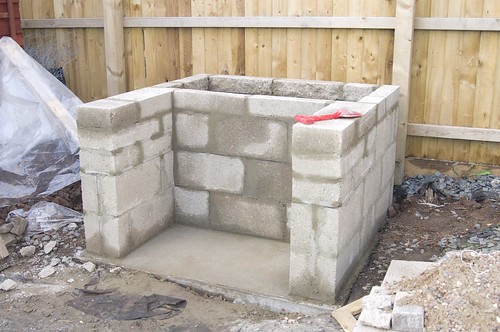 pompeii build3 pompeii build3 by dave-2, on Flickr the support wall was straight forward(ish) but back bracking lifting those blocks. even included the red spade I used to get the bits of mix out of mixer ha-ha. 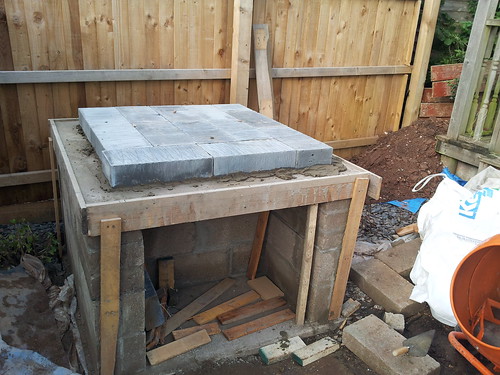 20130916_172327 20130916_172327 by dave-2, on Flickr on top of this I made a slab of concrete with re-enforced steel. after a day or two I lifted those wooden formers up approx 15mm and used them to lay a level layer of cement to lay the insulation blocks on. 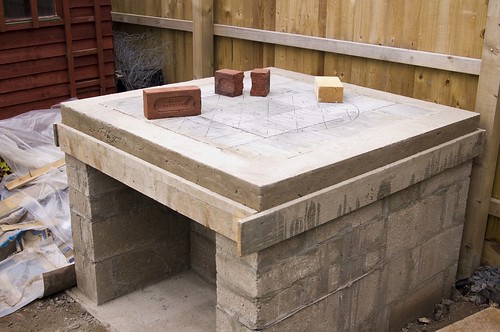 pompeii 4 pompeii 4 by dave-2, on Flickr again I moved the wooden formers up level with the insulation blocks, put some cut off pieces of re-enforcement steel around the edges and mixed up some concrete to surround the blocks. on the top of the blocks I've measured and made a mark for the centre then drawn the outlay of the hearth.you can see the engineering bricks also that im going to use for the dome. i bought them from a reclamation yard and they were made many many years ago quite local to me but theres no time for sentimentality ive got to cut them all in half. 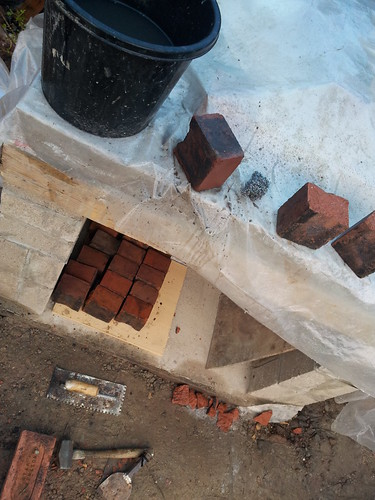 20130926_133041 20130926_133041 by dave-2, on Flickr for the fire bricks im going to use for the hearth im going to cut with a grinder I borrowed and it cut them very easily. 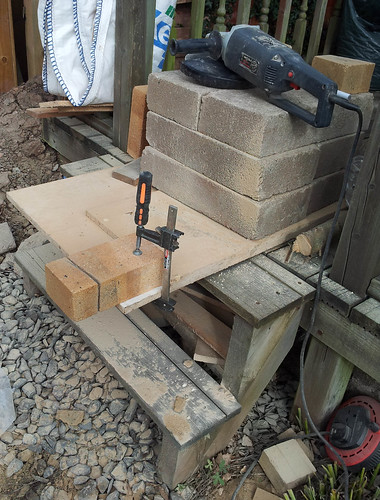 20130921_151710 20130921_151710 by dave-2, on Flickr 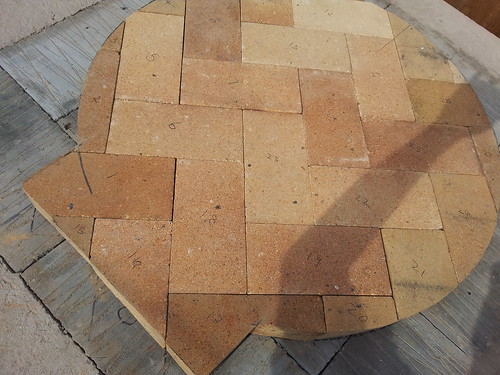 20130925_134235 20130925_134235 by dave-2, on Flickr with the fire bricks cut I laid them out and extended the marks out past the hearth which helps because once the cement mix is put down it covers your marked plan.and I found laying a few of the near bricks first then putting two battens down either side same depth as your cement with bricks on them to stop them moving and then dolloping your cement in the centre and levelling it out with a straight piece of wood using the battens as a guide. |
|
kipper
WFO Team Player
Posts: 125
|
Post by kipper on Sept 27, 2013 21:44:51 GMT
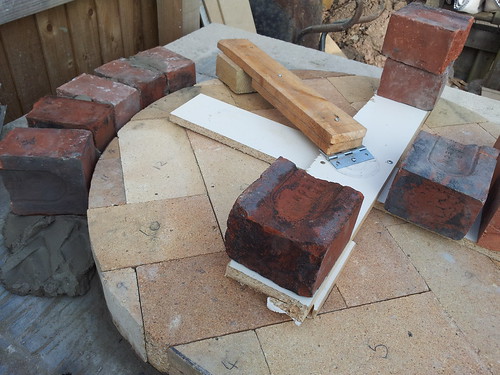 20130925_165718 20130925_165718 by dave-2, on Flickr I made a jig I seen on this forum.its easy to construct an just as easy to use.i put quite a big block of wood on the end with a straight face on it.perfect for placing the face of the brick against. 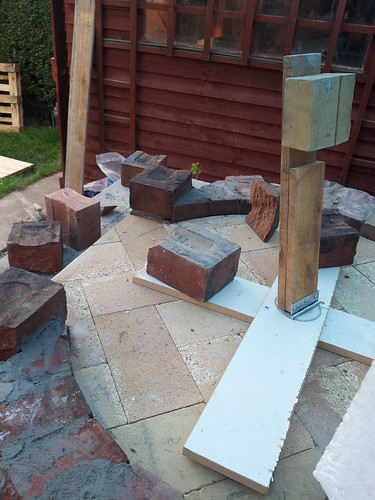 20130927_181605 20130927_181605 by dave-2, on Flickr and this is as far as I have got so far.one ring done and a bit of the arch. ive also used the grinder to take any unlevelled bits of the fire brick away. I would like at this point the say many thanks to Terry for popping over and giving advice and encouragement which really does go a long way especially when your in unfamiliar ground like myself. top bloke. |
|
|
|
Post by cannyfradock on Sept 29, 2013 11:13:47 GMT
Kipper
Great start. I'm not a jealous man but I'm quite envious of the way you have managed those perfect cuts on your hearth.
No need to thank me as I'll probably be pestering you soon to find out how to make one of those "jigs"...
Terry
|
|
kipper
WFO Team Player
Posts: 125
|
Post by kipper on Sept 29, 2013 16:44:26 GMT
Terry,your more than welcome to have this jig once I'm done with it. those perfect cuts are more perfect on the pictures than in reality ha-ha. I forgot to say I used a former for the arch cut from polystyrene as it sounded the easiest way, actually it was very easy to do. 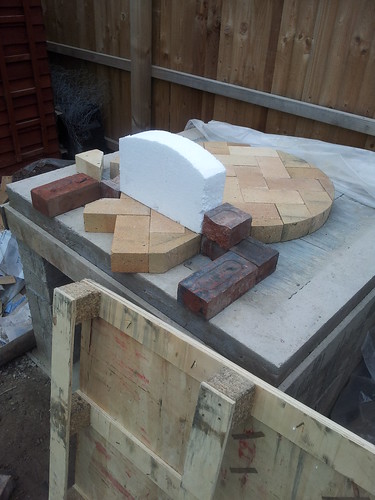 20130922_161111 20130922_161111 by dave-2, on Flickr |
|
kipper
WFO Team Player
Posts: 125
|
Post by kipper on Oct 9, 2013 21:33:28 GMT
with the first row done I then built the arch and managed to do another couple of rows with the jig. the arch and rows shown in the picture were done over two days. 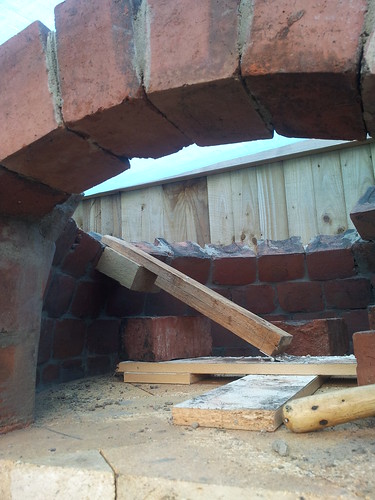 20131008_104407 20131008_104407 by dave-2, on Flickr using the 6.1.1.1 homebrew mix. I just made a small amount up at a time in a bucket. I used a 250 gram coffee bean container to measure the mix which was perfect for the speed I worked at. 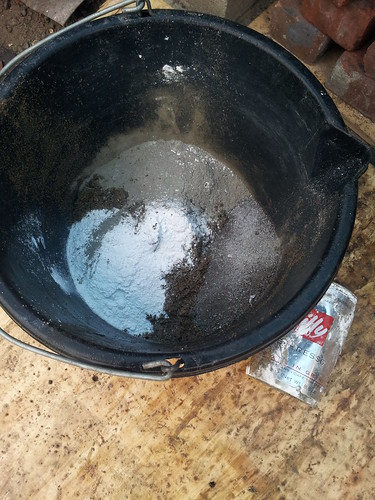 20131008_104806 20131008_104806 by dave-2, on Flickr |
|
kipper
WFO Team Player
Posts: 125
|
Post by kipper on Oct 9, 2013 21:45:16 GMT
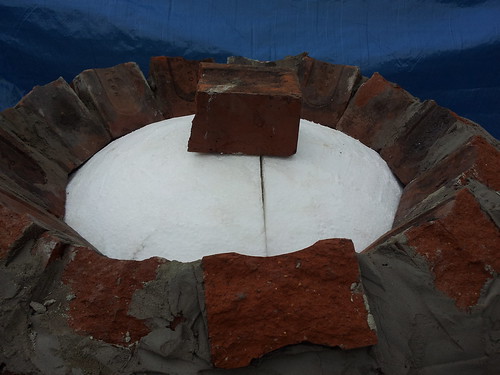
getting higher and gravity playing a bigger part now. especially where the bricks of the rows meet the arch. some extra support is needed to keep the bricks in place.  20131008_132021 20131008_132021 by dave-2, on Flickr its looking a bit scruffy on the outside 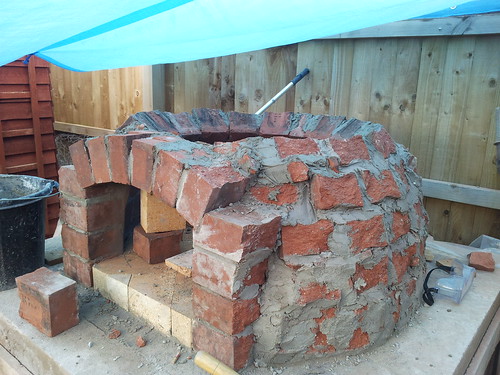 20131008_132047 20131008_132047 by dave-2, on Flickr but a little better on the inside 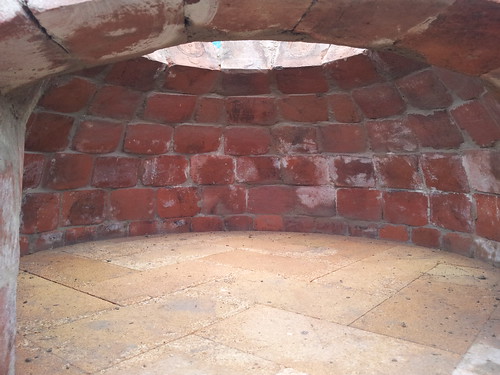 20131009_141637 20131009_141637 by dave-2, on Flickr |
|
kipper
WFO Team Player
Posts: 125
|
Post by kipper on Oct 9, 2013 21:56:33 GMT
I'm at the point where the jig can come out.so I can now tidy up the pointing while there's still a hole in the top. i also should have taken a photo of the inside of the arch but forgot.i will try next time I get chance. 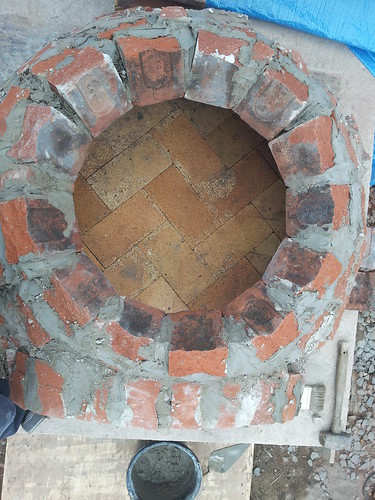 20131009_141622 20131009_141622 by dave-2, on Flickr its now been renamed an igloo since everyone who has looked at it has said "oh it looks like an igloo" |
|
kipper
WFO Team Player
Posts: 125
|
Post by kipper on Oct 9, 2013 22:08:26 GMT
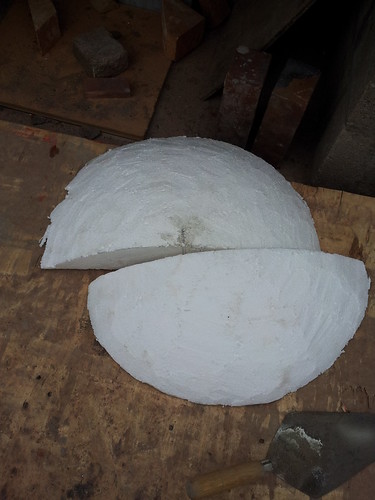
im making good use of the big sheet of polystyrene I have and had a go of making the former for the top. i made a cardboard template of the 40cm arch shape (bottom to top) then cut it down just enough for the last rows of brick. I then cut two half circles of polystyrene so I could get them though the oven door. then trimmed them with a sharp knife and checking the shape with the template. if you do this yourself id recommend putting the offcuts straight in a bin as when the wind catches it it travels very well. 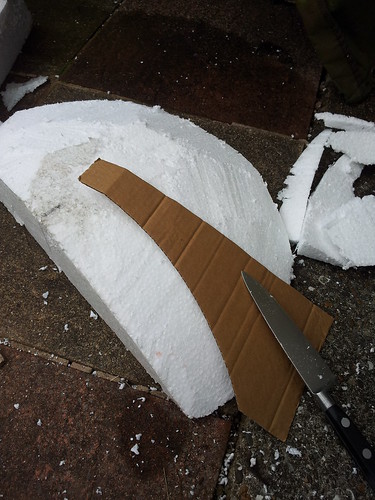 20131008_134410 20131008_134410 by dave-2, on Flickr |
|
kipper
WFO Team Player
Posts: 125
|
Post by kipper on Oct 9, 2013 22:10:53 GMT
|
|
kipper
WFO Team Player
Posts: 125
|
Post by kipper on Oct 9, 2013 22:14:25 GMT
the former done a good job except for one small part that id left unsupported and one of the bricks is a bit proud compared to the others but im happy with it overall. 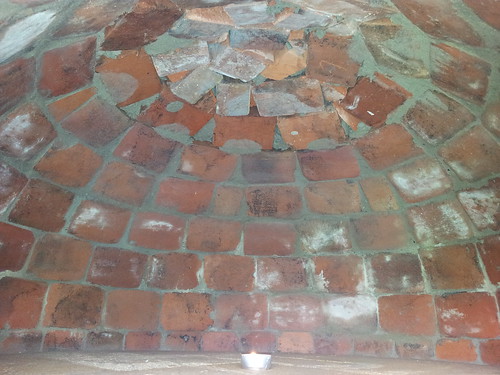 20131009_175003 20131009_175003 by dave-2, on Flickr |
|
kipper
WFO Team Player
Posts: 125
|
Post by kipper on Oct 9, 2013 22:18:41 GMT
I just need to point in between the bricks at the top now and then make a start with the outer arch.
|
|
|
|
Post by bookemdanno on Oct 10, 2013 6:38:35 GMT
Nice work Kipper!! Good use fof the Polystyrene! You'll be at the "can't stop looking inside the oven" stage now then. Its a great feeling, eh? Those bricks look really good, a perfect substitute for Firebricks. Are they heavy? Don't worry about the outside looking scruffy, it soon becomes inside again!  Good luck with the next stage! Danno |
|
kipper
WFO Team Player
Posts: 125
|
Post by kipper on Oct 11, 2013 9:45:29 GMT
thanks danno,yeah it's great to get the done bit done.no more cutting of bricks!! and yes they were quite heavy but light enough when cut in half.i know what you mean about looking inside,it's hard to resist a quick peep.
I think perhaps rendering the outside of the base next.
so off to get some mettle bits to attachto the side to render to.scratch coat first?what mix should this be?
|
|
kipper
WFO Team Player
Posts: 125
|
Post by kipper on Nov 16, 2013 23:25:58 GMT
bringing my build up to date.it hasn't been easy what with the weather.it seams to rain everytime I have a day off.strange how my pictures make it look like a summers day(must of had the iso set high on the camera). with the dome finished next step was to make the outer arch.im going with a half circle idea shamelessly stolen from dannos build as it looks very nice complete with chimney. I left as much space as possible between the two arches to limit the heat exchange so time will tell if its enough  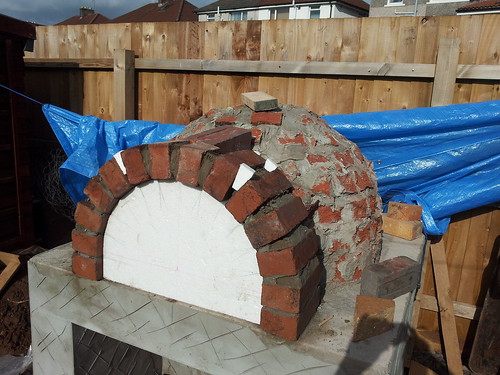 20131017_131729 20131017_131729 by dave-2, on Flickr  20131017_172948 20131017_172948 by dave-2, on Flickr |
|