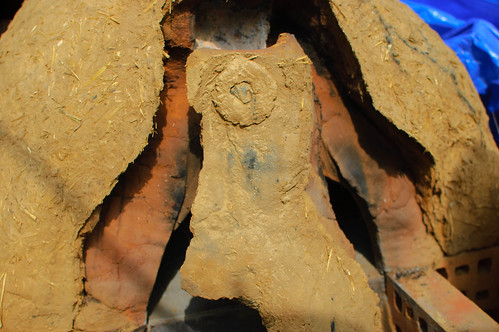
Post by dougclay on Apr 22, 2012 13:39:04 GMT
I never actually posted the build on the old forum although I had taken quite a few pictures along the way and I thought I'd share the experience of our experimental build here... They say you learn from you mistakes :-) and we learned a LOT!!
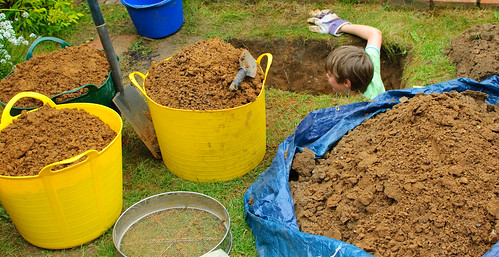
After looking into local geology and history of the area, following roman clay trails and routes and looking everywhere for a cheap, preferably free source of clay. One damp March afternoon, I decided to investigate the patch of my own back lawn where a big puddle always forms when it rains and a couple of feet down, there it was, sandy clay, "clayoven ready-mix" So I d(o)ug clay and filled up a giant tub full thinking that would be plenty and set off to do the base....
I pulled up a square section of paving and started laying the first bricks I ever layed... I never really planned this bit (as you can probably see) except I was trying to provide enough support for the paving slabs that I would put on top to be the plinth. I was determined to leave an alcove for wood storage and was trying to use the bricks as sparingly as possible because I needed most for the oven floor at least that was the "plan"
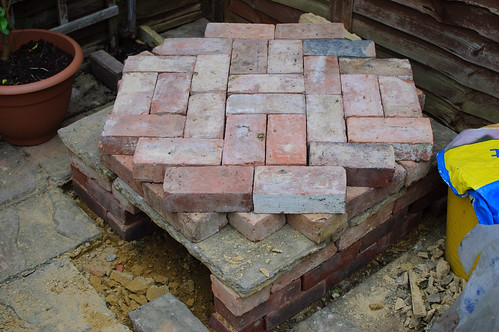
Started doubting and changing my mind when I laid it out dry, but went on with the dodgy base anyway...
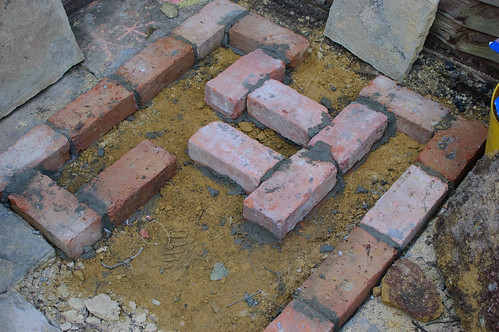
The old bricks were all different sizes and I found it very difficult as a first time builder, so when the base was done and during a couple of weeks away, I decided to go out and actually spend some money and buy some bricks
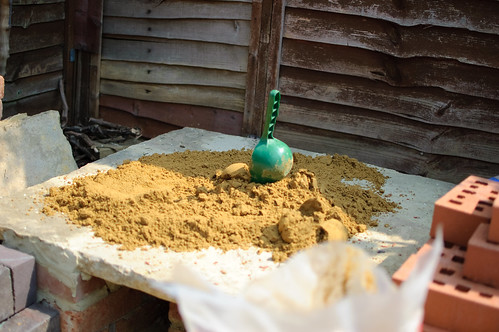
I used builders sand to make a level surface, only the outer bricks were mortared in the rest are just held in with builds sand

Top Tip, Bricks of the same length, height and width are really easy to build with and to get level ;-)
For the oven floor I went with dense heavy engineering bricks, just sitting in the sun the retained heat much better than ordinary bricks...

From this point on it became a family build, and a lot more fun!!
The Dome was built up around a stick marked with the desired height...

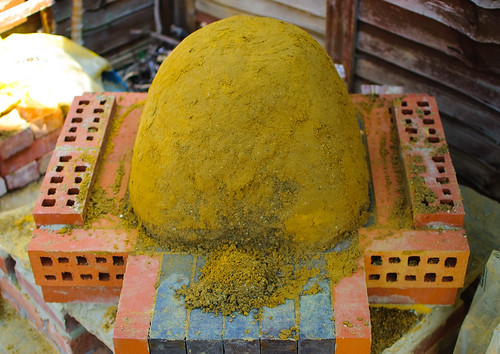
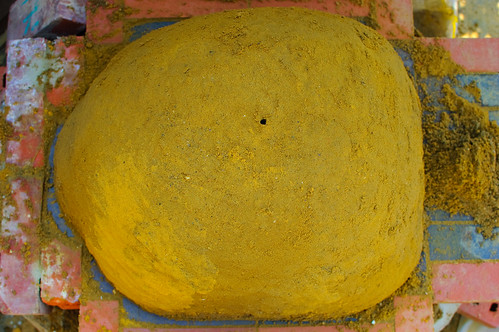
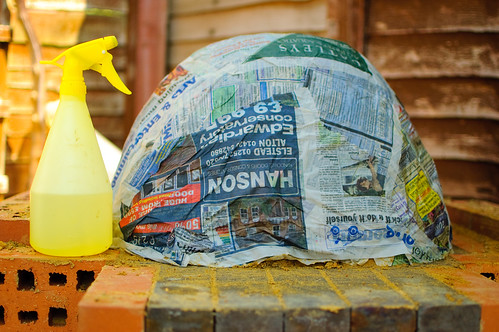
Laying soggy newspaper over the sand form was trickier than I imagined, the spray bottle helped...
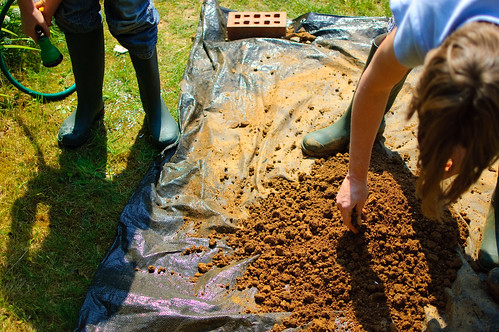
No sand added, we just puddled it to add get a good consistency and push out the air and find all the stones. We found this normal puddling very messy but it was fun. But later we developed a much cleaner barefoot method.
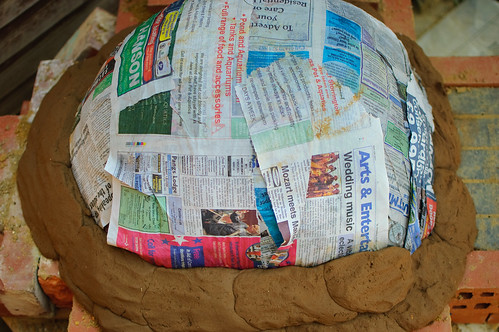
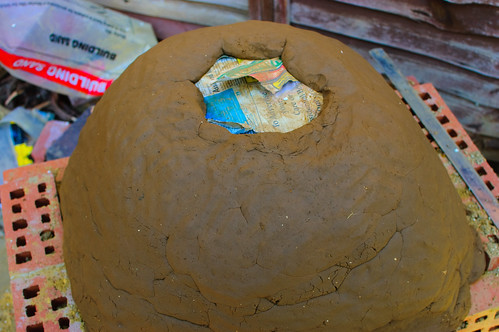
Done, but erm, that was all the clay...

Left it for about 4 hours before cutting the door, but I think I went too wide to soon as I later got some splitting above the doorway...
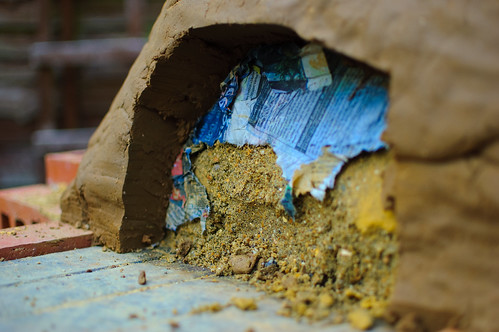
After a couple of days the outside was drying quickly but the inside was still damp. I used tealights for a couple of days and the cracks above the doorway started closing up and by the time of the first small fire were almost gone...
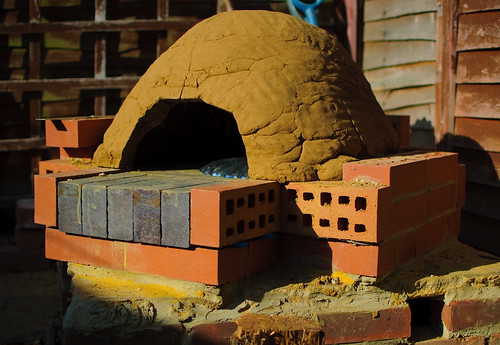
It's not child labour, it's family fun!!!
This time we filled 3 tubs of sieved sandy clay, just to be sure!!
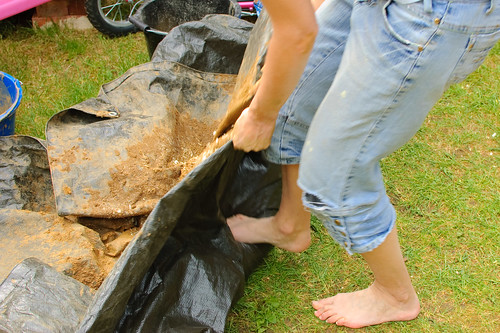
The next layer we added saw dust. We got a couple of blocks from the pet shop. This stuff is tightly packed so is a lot more than you think... We developed a technique of puddling the clay and mixing from outside the tarp, or what we call "Walking the tarp" this makes for much less mess and is easy enough for one person to do or one at each end and then walking the mixture from one side to the other, adding more sawdust every few runs... the mixture gets very dry very quickly as the sawdust is added so you have to start with more of a slurry, or we found just as easy to dampen the sawdust before its added and the mix stays more consistent as you add...
We all sat around the the mud swiss roll and made handy sized balls for application. I built an arch and chimney, while the rest of the family had fun slapping down those mud patties..

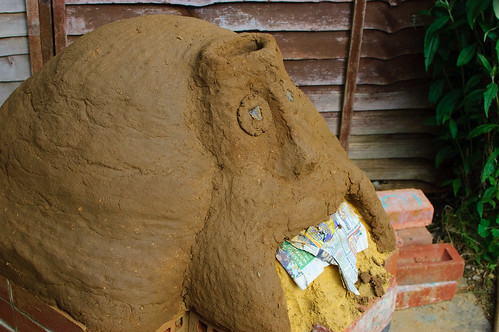
I didn't have enough regular shaped bricks to make an arch as I had originally planned so i thought I'd see what I could make out of clay... and that's were I started reliving childhood Plasticine play and it all started to get a bit Ardman like ;-)

Just over a week later and we lit our first drying fire...
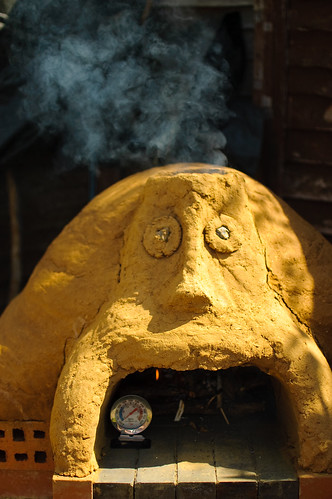
The following week we cooked in it for the first time...
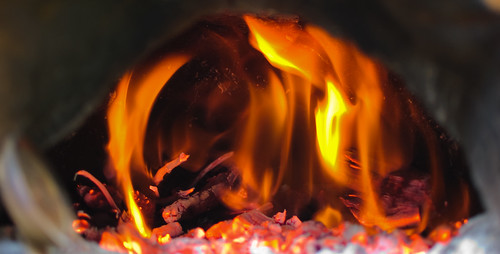
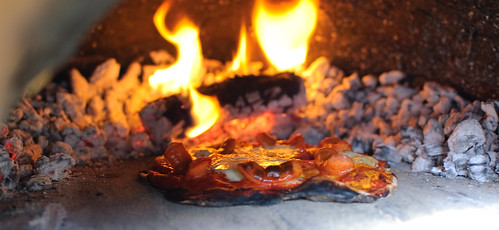
After 3 months of service we filled in some cracks and gave our oven an afro and a chimney extension. The afro was made of clay and straw this time. I had an idea that we might run out of clay again so this time we started at the top and worked down as the insulation was more important up there...


The chimney was a great success, heats up quickly and the draws the smoke right up and out of the garden and we started doing more slow cooking after the first bake due to the improved insulation...
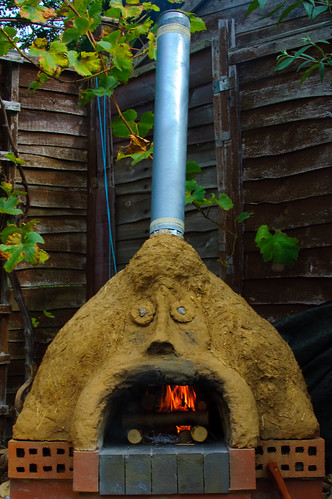
Removing the extended chimney and covering the hole really helps with heat retention when opening the door, the heat doesn't just flood out and away so there isn't a massive temperature loss
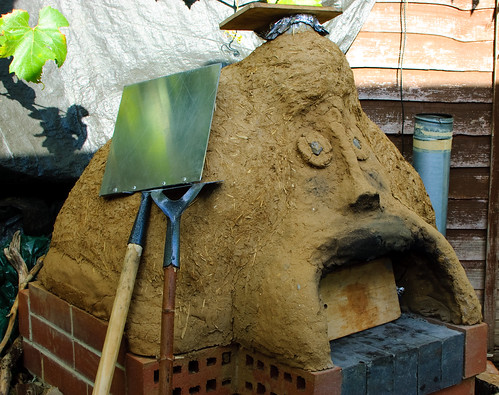
Our oven survived the winter fairly well but after one of the windiest wettest of days we noticed the the tarp had shredded on the chimney stump and rain had run down the front for a couple of days... it is currently missing an eye and looks like it has has blond highlight done where the tarp has rubbed the outer straw clean of clay... looking forward to doing some repairs and see what shape the oven takes next... ;-) just waiting for these April showers to stop interrupting...
After looking into local geology and history of the area, following roman clay trails and routes and looking everywhere for a cheap, preferably free source of clay. One damp March afternoon, I decided to investigate the patch of my own back lawn where a big puddle always forms when it rains and a couple of feet down, there it was, sandy clay, "clayoven ready-mix"
 So I d(o)ug clay and filled up a giant tub full thinking that would be plenty and set off to do the base....
I pulled up a square section of paving and started laying the first bricks I ever layed... I never really planned this bit (as you can probably see) except I was trying to provide enough support for the paving slabs that I would put on top to be the plinth. I was determined to leave an alcove for wood storage and was trying to use the bricks as sparingly as possible because I needed most for the oven floor
 at least that was the "plan"
Started doubting and changing my mind when I laid it out dry, but went on with the dodgy base anyway...

The old bricks were all different sizes and I found it very difficult as a first time builder, so when the base was done and during a couple of weeks away, I decided to go out and actually spend some money and buy some bricks


I used builders sand to make a level surface, only the outer bricks were mortared in the rest are just held in with builds sand

Top Tip, Bricks of the same length, height and width are really easy to build with and to get level ;-)
For the oven floor I went with dense heavy engineering bricks, just sitting in the sun the retained heat much better than ordinary bricks...

From this point on it became a family build, and a lot more fun!!
The Dome was built up around a stick marked with the desired height...


Laying soggy newspaper over the sand form was trickier than I imagined, the spray bottle helped...


No sand added, we just puddled it to add get a good consistency and push out the air and find all the stones. We found this normal puddling very messy but it was fun. But later we developed a much cleaner barefoot method.


Done, but erm, that was all the clay...

Left it for about 4 hours before cutting the door, but I think I went too wide to soon as I later got some splitting above the doorway...

After a couple of days the outside was drying quickly but the inside was still damp. I used tealights for a couple of days and the cracks above the doorway started closing up and by the time of the first small fire were almost gone...

It's not child labour, it's family fun!!!
This time we filled 3 tubs of sieved sandy clay, just to be sure!!

The next layer we added saw dust. We got a couple of blocks from the pet shop. This stuff is tightly packed so is a lot more than you think... We developed a technique of puddling the clay and mixing from outside the tarp, or what we call "Walking the tarp" this makes for much less mess and is easy enough for one person to do or one at each end and then walking the mixture from one side to the other, adding more sawdust every few runs... the mixture gets very dry very quickly as the sawdust is added so you have to start with more of a slurry, or we found just as easy to dampen the sawdust before its added and the mix stays more consistent as you add...

We all sat around the the mud swiss roll and made handy sized balls for application. I built an arch and chimney, while the rest of the family had fun slapping down those mud patties..

I didn't have enough regular shaped bricks to make an arch as I had originally planned so i thought I'd see what I could make out of clay... and that's were I started reliving childhood Plasticine play and it all started to get a bit Ardman like ;-)


Just over a week later and we lit our first drying fire...

The following week we cooked in it for the first time...


After 3 months of service we filled in some cracks and gave our oven an afro and a chimney extension. The afro was made of clay and straw this time. I had an idea that we might run out of clay again so this time we started at the top and worked down as the insulation was more important up there...


The chimney was a great success, heats up quickly and the draws the smoke right up and out of the garden and we started doing more slow cooking after the first bake due to the improved insulation...

Removing the extended chimney and covering the hole really helps with heat retention when opening the door, the heat doesn't just flood out and away so there isn't a massive temperature loss

Our oven survived the winter fairly well but after one of the windiest wettest of days we noticed the the tarp had shredded on the chimney stump and rain had run down the front for a couple of days... it is currently missing an eye and looks like it has has blond highlight done where the tarp has rubbed the outer straw clean of clay... looking forward to doing some repairs and see what shape the oven takes next... ;-) just waiting for these April showers to stop interrupting...


