ringo
valid member

Posts: 75 
|
Post by ringo on Jul 28, 2013 12:03:08 GMT
Well happy with my work this morning, looks fricking ace (even though I do say so myself!) Dried like a dream last night even though it pissed it down (covered well) 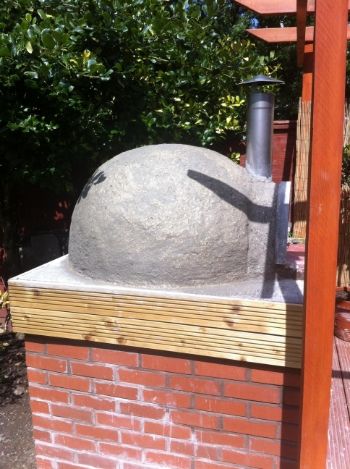 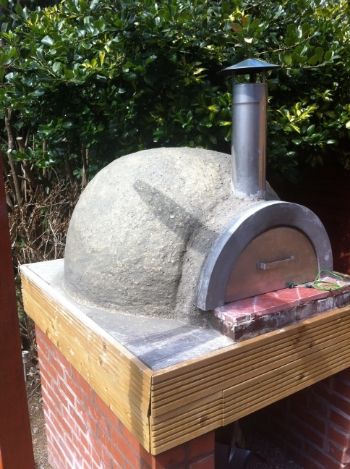 Rendering and cosmetic stuff left to do now |
|
|
|
Post by bookemdanno on Jul 28, 2013 13:15:15 GMT
There you go!!! Sweet!!! Well done Ringo!
Now, there'll be a lot of water held in this ere Vermicrete.
If you can rig up some sort of temporary cover, like a sheet of tarp from your pergola to the hedge to keep the rain off and shade the oven for as long as you can before rendering.
If you have a fire up, you may need to remove the tarp tho!
A fire or two will also help to drive out the water from the vermicrete too.
You want to avoid any more water getting in, and drying out this stage as much as you can before rendering. The render will make it harder for the water to get out, and can lead to cracking through steam pressure. Something i fell foul of!
As you also have a single walled chimney, you must create an expansion/heat break between the metal chimney and the render, or it will again crack.
You'll need something that can sit in place around the chimney when you render that'll give half to three quarters of an inch gap, which can be removed once the render has dried, and then filled with a heat proof mastic.
Don't be scared, you've shown that you have the skills to pay the bills with what you've achieved so far.
Really Nice!
|
|
|
|
Post by cannyfradock on Jul 29, 2013 14:31:15 GMT
Ringo
What a cracking looking oven!!....Great work on the insulation layers.
Shame about the spalling of your tiles.....All you can do there is ...if they get so bad is to cut them out and replace them.
The smoking of your oven will decrease the more you use it. Some people in very built up area's use a roofers blow torch to heat the oven up first to reduce the initial smoke of the firing. It also makes a great difference if you use seasoned hard wood. One trick a lot of people do is to put enough logs in the oven (after use and cooled down a little/lot) in the oven for the next firing.
Terry
|
|
ringo
valid member
Posts: 75
|
Post by ringo on Jul 29, 2013 18:25:31 GMT
Thanks for the complements,encouragement and general advice chaps (and others). Threw an old, leftover thinly rolled out piece of pizza dough in there last night just to see what it was like as the floor temp was nicely humming at around 250 degrees (thermocouples are well accurate) and it came out like this 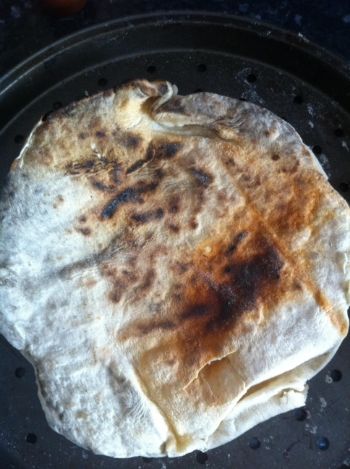 Blew up like a naan bread and came out like a chapati (which gave me further ideas  ) not perfect but can see a slightly thicker base having that crispy coating, can't wait to run the first 'proper' fire over the next week or so although its been up pretty high 600-700 but only for short, small fires Looking forward to posting the inaugural pizza pic! |
|
ringo
valid member
Posts: 75
|
Post by ringo on Aug 3, 2013 16:13:10 GMT
Managed to get the rendering done today, nice and tidy with a small gap round the flue. Finishing line in site as got the tiles to finish the top today and the masonry paint. Need to replace sound of the wood surround as it has badly warped. Next pics should be the finished product.... 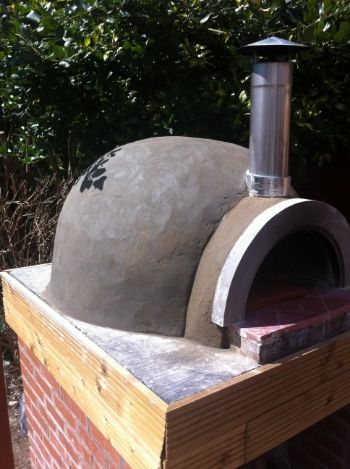 |
|
ringo
valid member
Posts: 75
|
Post by ringo on Aug 20, 2013 17:09:12 GMT
Been away on hols but am off work this week and have got a load of cosmetics done - grand 'unveiling' tomorrow - pics to follow
|
|
|
|
Post by moonhead on Aug 20, 2013 17:57:49 GMT
Very nice work, look forward tomorrows pics.
Rick
|
|
ringo
valid member
Posts: 75
|
Post by ringo on Aug 22, 2013 15:06:26 GMT
IT.........IS..........FINISHED!!!!!!!!!! Enjoy 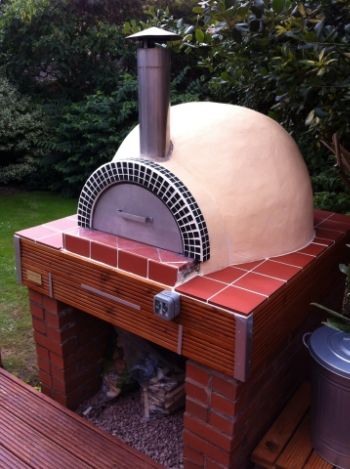 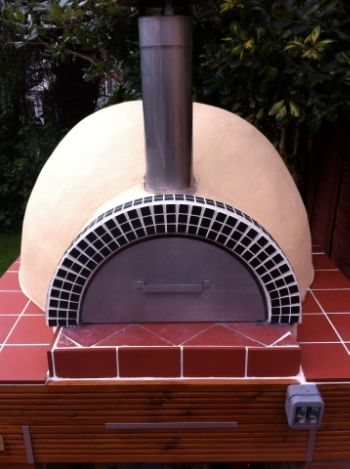 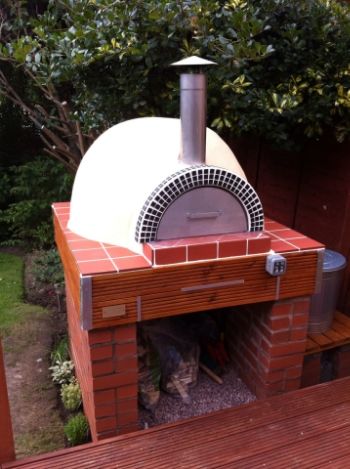 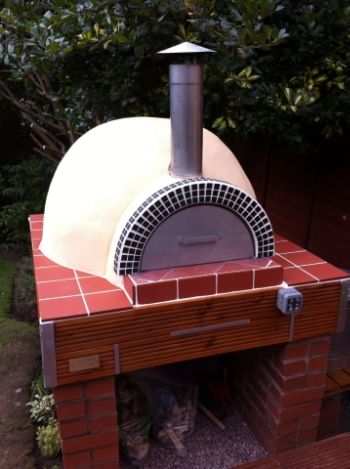 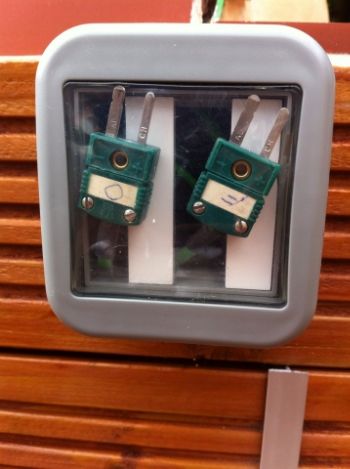   And the only way I could thank my dad for his help (apart from pizza) 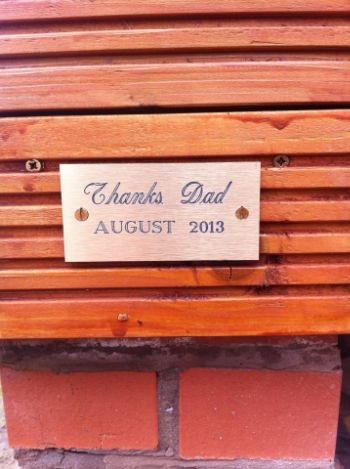 Thanks to all who gave me hints, tips and encouragement when it all started to go a bit Peter Tong. My hands are bloody and sore, my back is aching, my wallet is lighter but hopefully, soon my belly will be full! Got some bits a pieces left over that I'll stick in the for sale section (loads of ceramic blanket and chicken wire). Next, photos of the first fruits of my labour hopefully, this weekend |
|
|
|
Post by bookemdanno on Aug 22, 2013 17:51:58 GMT
Very well done Ringo!
I really like the contemporary feel of your oven, with very clean lines.
The plaque is a really nice touch too.
I hope that you now really enjoy your new relationship!
I'm chuffed for you.
|
|
Tom B
WFO Team Player
Posts: 148
|
Post by Tom B on Aug 22, 2013 17:58:01 GMT
That's a beauty |
|
|
|
Post by rockrocky on Aug 22, 2013 18:02:50 GMT
Great job, not just s drummer then!
|
|
|
|
Post by culinaryscience on Aug 22, 2013 21:59:39 GMT
Your oven looks fantastic, can I ask how did you install the thermocouples and what is the box for?
David
|
|
ringo
valid member
Posts: 75
|
Post by ringo on Aug 22, 2013 23:32:32 GMT
Thanks for the comments guys
David, the thermocouples were added when I fixed the dome halves together (fitting the probe about an inch or so down into the dome from the top bending the remainder over the outer dome BUT over the ceramic blanket- see page 2 for a close up) and the other laid into the the cooking surface (set into the fire cement between the floor tiles). F = floor temp, O = oven/dome. The box has the connection ends that plug into the reader. This is an adapted outdoor switch from B&Q (i.e. took the switch out) that house the plugs as they're not waterproof. Hope this helps if you're thinking of doing the same - I can get you suppliers name etc or more tech advice from my father in law who suggested them (as he was an electrical engineering working on furnaces etc)
Ringo
|
|
|
|
Post by culinaryscience on Aug 23, 2013 13:32:57 GMT
Thanks Ringo,
If you don't mind finding out the name of the thermocouples that would be great. May adapt my design for such a feature!
David
|
|
ringo
valid member
Posts: 75
|
Post by ringo on Aug 23, 2013 15:37:52 GMT
David The thermocouples are Type K. MI. inconel sheath, 3mm diameter x length (I had a metre one and half metre). The reader is a therma 3 made by E.T.I Ltd. this was changed from a previous version and is calibrated up to 1000 degrees c. Fitted one into the roof (through the joint in the dome, protrudes down about an inch) and one laid in the cooking surface. They then connect to the reader at the top (one at a time). As its been calibrated its very accurate and more so than my IR thermometer (although this is adequate too) Some pics below, hope these help 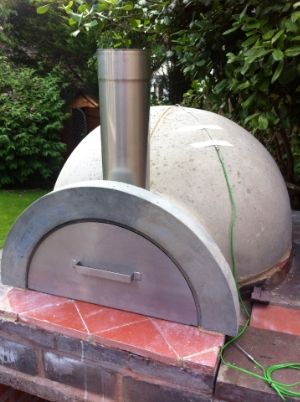 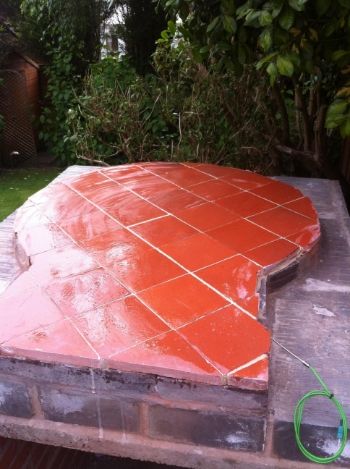 Previous reader (but shows thermocouple) 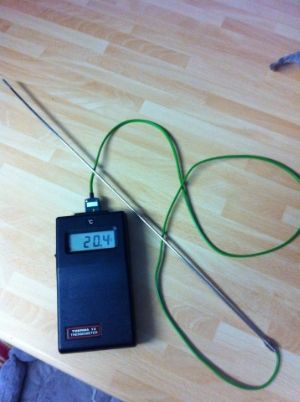 New reader 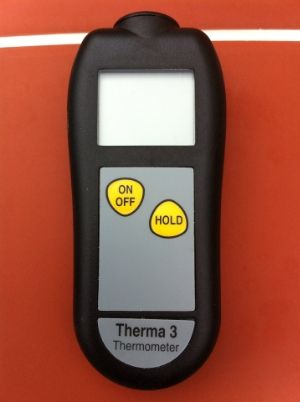  If there's anything else you want to know please ask |
|


 ) not perfect but can see a slightly thicker base having that crispy coating, can't wait to run the first 'proper' fire over the next week or so although its been up pretty high 600-700 but only for short, small fires


